| Olivia and the Pink Cake |
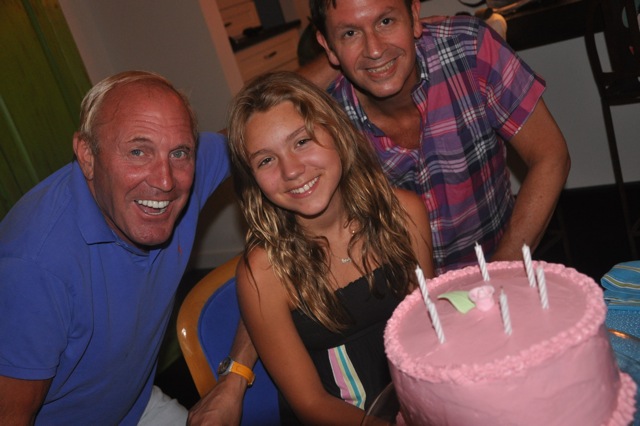 |
| Left to right: Uncle Monte, Olivia and Uncle Andrew |
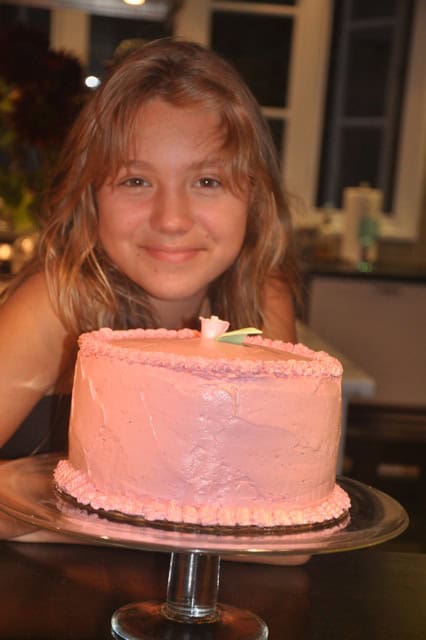
Our god-daughter Olivia just turned 13 this month. That’s a milestone in any girl’s life. It’s also a pretty big one in ours too. Andrew and I went to see her the day she was born and she’s been a big part of our lives ever since. She’s grown into someone we are so proud to call our own. She’s lovely, poised, and talented. She has manners that would make any parent proud. And she’s a sheer delight to be around. So it’s only natural that Uncle Andrew would go all out for this year’s festivities. He baked two kinds of Whoopie Pies for her all-girl Birthday party and we’ll get to those in a future post. But today I wanted to share the every-girl’s-dream-cake that he made. You see, Olivia gets a festival of birthdays. There’s one for her friends. There’s one with her family. And there’s one we call “The Uncle’s Birthday” which is where Andrew and I join forces with Olivia’s other uncles, Shawn and Terry, and celebrate. And that’s where the Pink Cake appeared. But before we get to the cake, a few words about pink.
 |
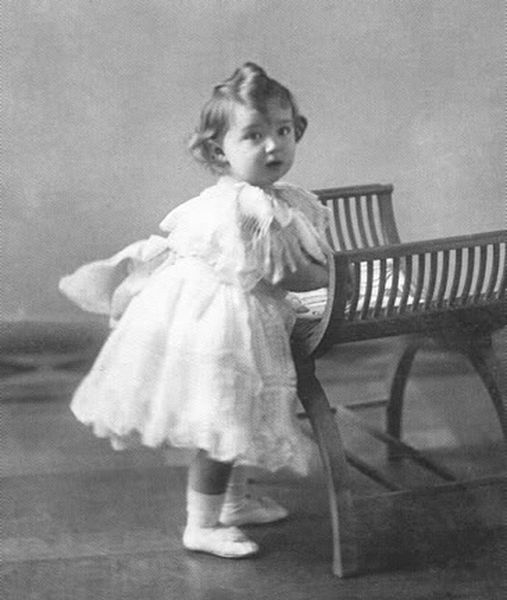
| Maria Feoderova and her son, Niki, the future Tsar Nicholai II |
Until the turn of the century, baby clothes for boys and girls were interchangeable and most often white. In fact, telling infant sexes apart was a challenge. Ruffles and lace adorned baby clothes and the higher the social standing, the more elaborate these became. These pictures show the Russian Royal infants. Can you tell which is a boy and which a girl? Well, neither of them are girls. The photo on the right is of Tsarevich Alexei. The one next to it, shows his father and his grandmother. And Russians were hardly alone in their devotion to dressing up little boys. Below is a picture of our 32nd President, Franklin Delano Roosevelt, in 1884, aged 2. It wasn’t until the 20th century that baby clothes came in colors. And when they did, things were a little topsy-turvy to today’s sensibilities.
 |
| FDR in 1884, aged 2. |
 |
| Julie Richardson Inventive Baker of the Pink Cake |
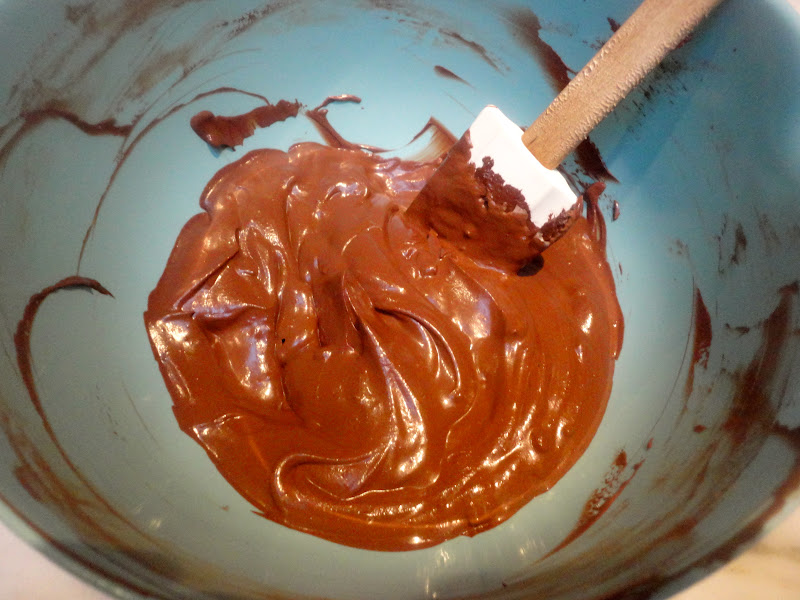
 Uncle Shawn took one look at Andrew’s creation and said it looked ‘vintage’ to him. He hit the nail on the head. The recipe for the cake came from a book called “Vintage Cakes” (10 Speed Press, Berkeley). Its author, Julie Richardson comes from that hotbed of great food, Portland, OR where she is the head baker at Baker & Spice. (6330 SW Capitol Highway, Portland OR 97239. Tel: 503-244-7573). Julie decided to create a cake cook book full of old favorites which she gathered by selecting treasures from old cookbooks and recipe cards. But when it came time to bake the Pink Cake, it was a pure Baker and Spice Original. There’s nothing girly about the flavors: the deep chocolate layer cake is moist and rich. But the thing that really stands out is the buttercream frosting. Not the result of one bit of dye, the buttercream gets both its color and its flavor from a raspberry puree!. It’s a wonderfully light frosting. In fact, the whole cake is amazingly light yet full of fruit and chocolate flavor. And if two tastes were meant for each other, you have to go a long way to find a better pair than chocolate and raspberry. Here’s the recipe:
For the Cake:

4 ounces unsweetened chocolate, chopped

4 cups raspberries, fresh or frozen (10 ounces)
2 cups unsalted butter, at room temperature, cut into small cubes (1 pound)

Center an oven rack and preheat the oven to 350 degrees. Grease three 8-by-2-inch round cake pans, line with parchment paper circles and grease the paper. (Instead of then lining the cake tins with white flour, Andrew then coats them with cocoa powder, a trick he learned from fellow baker and professional chef, Mark Sanne. The cakes then are completely chocolate.

To make cake: Put the unsweetened chocolate and the cocoa into a small bowl. Pour the boiling water over the chocolate and allow it to steep for 1 minute.
Whisk the mixture together. Whisk in the sour cream and vanilla. Set aside.
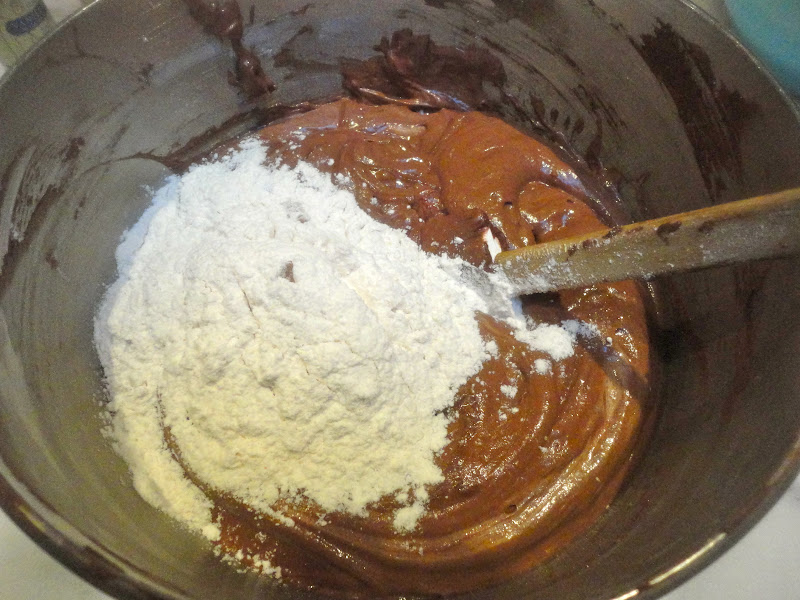
Sift together the flour, baking soda and salt in a bowl, then whisk the mixture by hand to ensure that the ingredients are well-mixed.
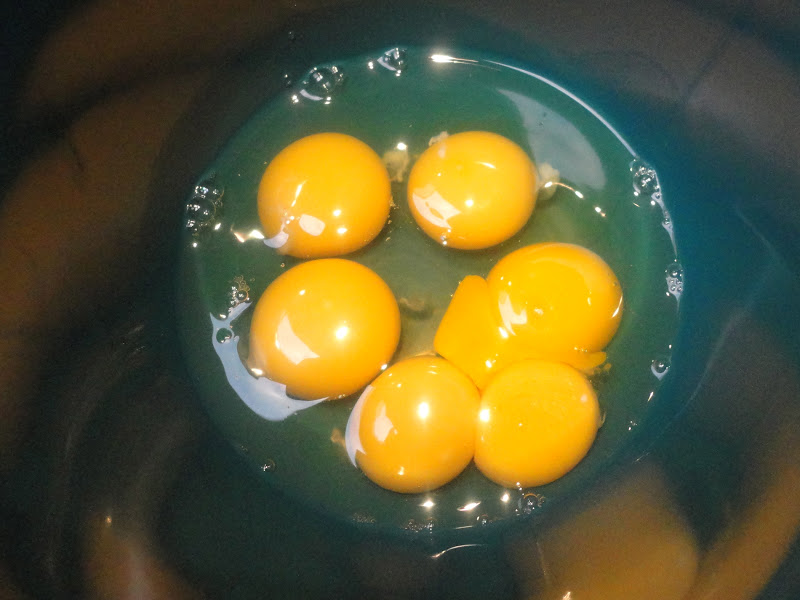
In the bowl of a stand mixer fitted with the paddle attachment, cream the butter and both sugars together on medium-high speed until light, about 3 minutes. As you make the batter, stop the mixer frequently and scrape the paddle and the sides of the bowl with a rubber spatula. On low speed, drizzle the oil into the mixture until blended. Turn the mixer up to medium-high speed and beat until the batter is fluffy, about 3 more minutes. Blend in the eggs and egg yolks one at a time, adding the next one as soon as the previous one has disappeared into the batter. With the mixer on low speed, add the flour mixture in three parts, alternating with the chocolate mixture in two parts, beginning and ending with the flour. After each addition, mix until just barely blended and stop and scrape the bowl. Stop the mixer before the last of the flour has been incorporated and complete the blending by hand with a rubber spatula to ensure you do not overbeat the batter.
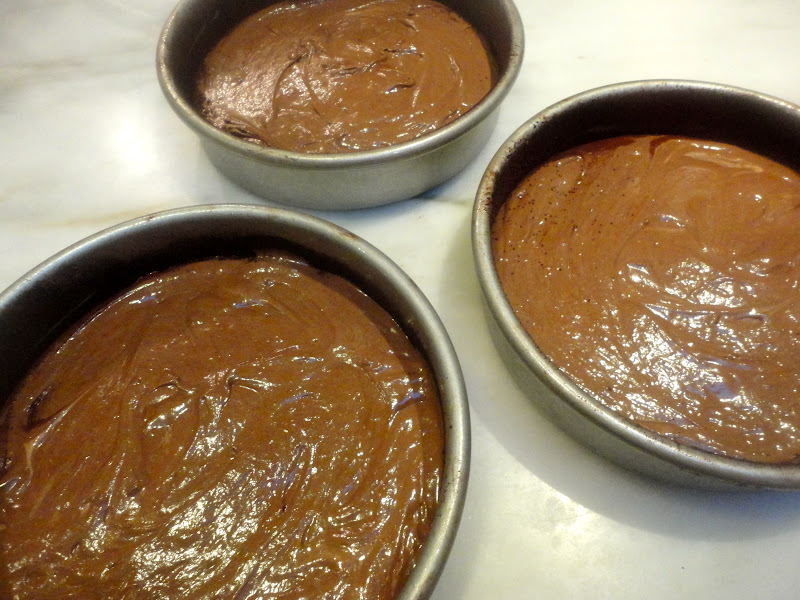
Divide the thick batter equally among the prepared pans. (There will be approximately 1 pound 2 ounces per pan.) Smooth the tops and tap the pans on the counter to settle the batter and eliminate any large air bubbles.

Bake in the middle of the oven until the centers spring back when lightly touched, 22 to 25 minutes. Cool the cakes in their pans on a wire rack for 30 minutes. Flip the cakes out of the pans, leaving on the parchment paper until you assemble the cake. Let them continue to cool on the rack, top sides up, until they reach room temperature.
Store the cake in an airtight container at room temperature for up to 3 days.
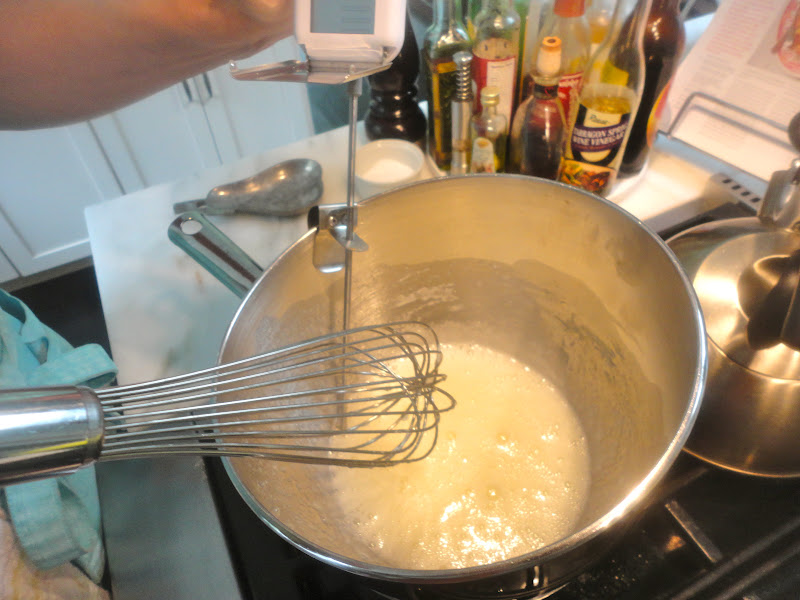
Now make the buttercream:


The rosebud and the leaf were purchased at New York Cake and Baking Supplies at 56 West 22nd St. New York City.


Happy happy teenager day dear Olivia! How exciting is it for you to have your birthday celebrated on the World wide web, I ask?! That's fabulous! C:
As for the Pink cake, also fabulous – cannot wait to try the Raspberry buttercream, which will certainly make itself know on many treats I'm sure. C: Hurray for Olivia, and hurray for the gals who wear blue and the boys who were pink! C:
Ana, how sweet of you to comment! The raspberry buttercream is a revelation! Do try it soon for a girl or boys cake! XOXO M